How to Make Your Own Melon Playground Mod (Template Guide)
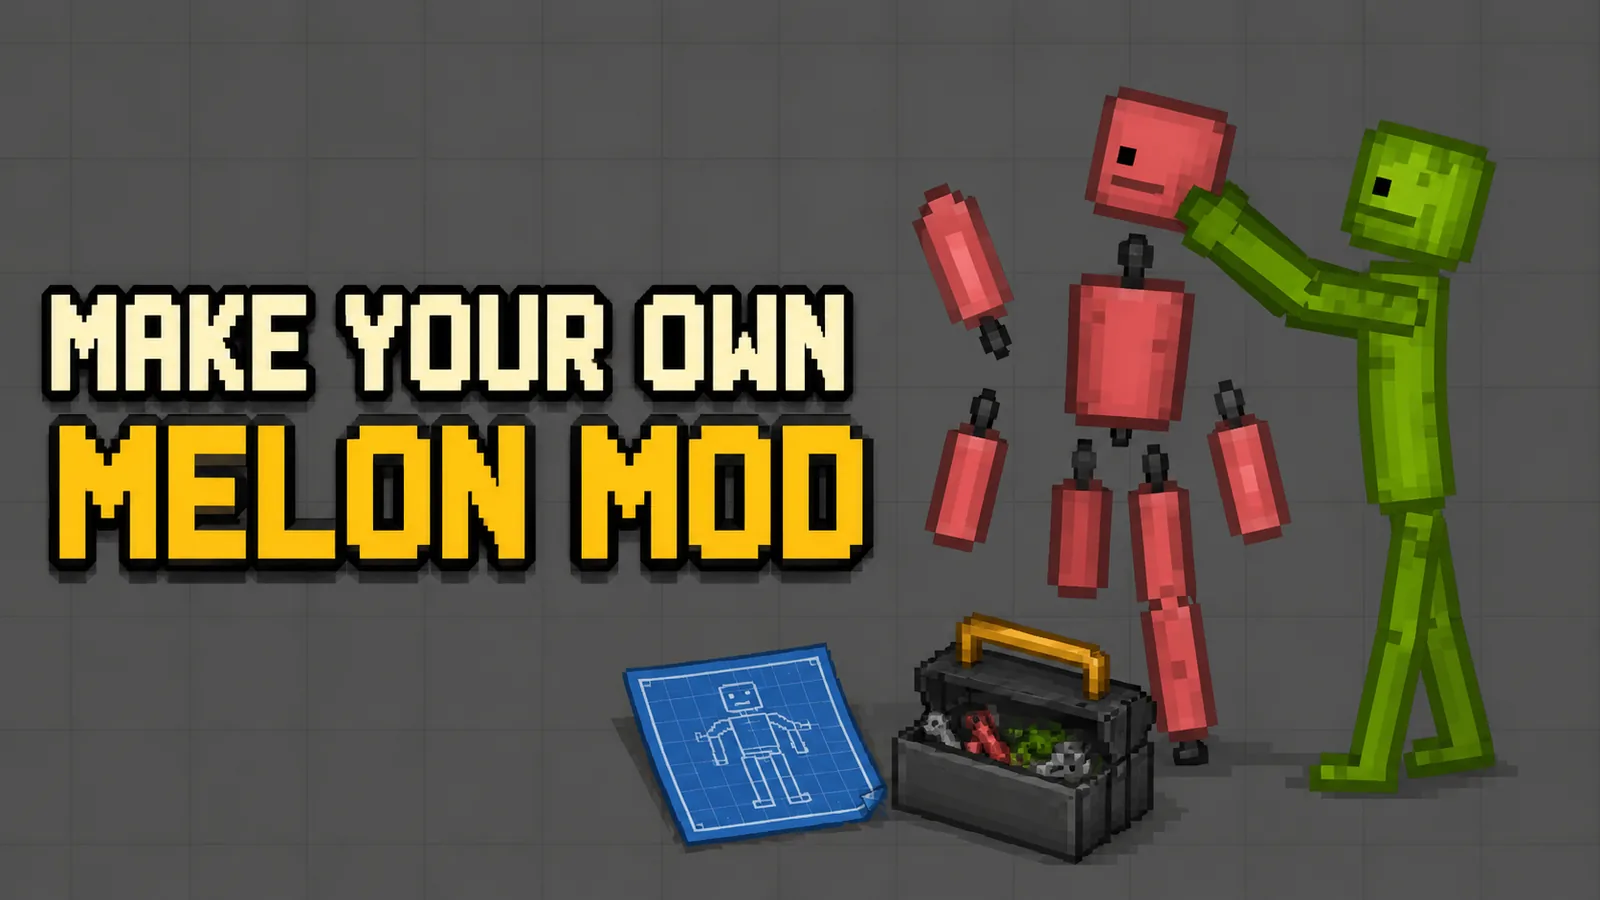
Downloading mods is fun — but making your own Melon Playground mod is the next level, and it’s more achievable than you might think. The easiest way to start is with a Melon Playground template: a ready-made mod structure you customise instead of building everything from scratch. This beginner-friendly guide walks you through the whole idea, step by step — from using a template to setting colliders and testing your first character.
- What is a mod template?
- What you need to start
- Step-by-step: build a mod from a template
- Understanding the parts of a mod
- Tips for a great first mod
- FAQ
What is a Melon Playground mod template?
A template is a pre-built mod with the correct structure already in place — the item, its colliders and its parameters — that you customise instead of building from zero. Melon Playground has a built-in Editor where all mod creation happens, and starting from a template means the fiddly setup is already done for you. It’s the fastest way to go from “I have an idea” to “I made a mod.”
What you need to start
- A working copy of Melon Playground with access to the Editor menu.
- A template mod or an existing item to modify (many creators share editable templates).
- Basic image editing to draw your character’s pixel art (even a phone app works).
- A little patience — your first mod is a learning experience, and that’s the point.
How the Melon Playground Editor works
Everything happens in the game’s Editor menu, where you edit and create items, worlds and maps. The two buttons you’ll use most are:
- CREATE NEW — starts a brand-new mod. You then choose an available item to base it on and press EDIT to open its parameters.
- LOAD — opens all the mods you already have installed so you can modify one. (Note: changes to a loaded mod are permanent unless you reinstall it, so keep a backup.)
Step-by-step: build a mod
- Open the Editor and press CREATE NEW (or LOAD a template to start from).
- Choose an item to modify and press EDIT to open its settings.
- Replace the artwork. Swap in your own pixel-art texture — this is where your mod gets its identity.
- Set the colliders so your item is tangible (more on this below).
- Adjust the parameters — damage, collision, health and any special abilities.
- Test it by spawning it in the sandbox, then refine until it feels right.
Understanding colliders (the key to a working mod)
A collider is what makes an item tangible — an invisible shape that wraps your pixel art so other items can touch and collide with it. Draw a character with no collider and nothing can interact with it; add a collider and it comes to life. Colliders have two settings that matter most:
Collider shapes
- Box — generates a rectangle or square.
- Circle — generates a circle or oval.
- Polygon — automatically wraps around the outline of your item. Best for complex shapes like characters, stars or weapons.
Collider substances (materials)
The substance decides how your item behaves and how durable it is:
| Substance | Behaves like |
|---|---|
| Flesh | A Living’s body — fragile, low force |
| Cloth | Clothing — very fragile |
| Wood / Hard Wood | Durable and strong (Hard Wood is tougher) |
| Metal | The strongest — huge force, very durable |
| Kevlar | Mimics a bulletproof vest |
| Glass / Porcelain | Strong but shatters |
| Rubber / Plastic | Flexible, fairly fragile |
| Concrete | Second-strongest material |
Key parameters explained
Once your item exists, the Editor lets you tune its behaviour. The most useful parameters:
- Damage — how much health it removes from a Living on contact or explosion.
- Collision — how it physically interacts with other objects.
- Health — how much punishment your character can take.
- For explosives, you also get Delay, Bomb Point, Additional Temperature and Detonation Effect — great for weapon mods.
Managing your mods
Made a mod you don’t want cluttering the spawn menu? Select the user-generated item and use the HIDE/SHOW button (top-right of the editor) to temporarily hide or restore it — handy while you’re testing lots of versions.
Tips for a great first mod
- Start simple. One clean, well-made character beats an over-ambitious mess.
- Get the collider right first. A great texture with the wrong collider won’t behave properly — Polygon is your friend.
- Pick a theme you love — a favourite anime character or hero — so you stay motivated.
- Test often and back up before editing a loaded mod (changes are permanent).
Frequently Asked Questions
No. Most Melon Playground mods are made by editing a template — you swap the images and values inside an existing mod folder, then repackage it. No programming language is involved. If you can rename a file and edit a picture, you can make a mod.
A device (Android, iOS or PC), a file manager, a way to open ZIP files, and an image editor for the sprites. A template mod to start from makes it far easier than building from scratch — you keep the folder structure that already works and only change what you want to look different.
A simple re-skin — new colours or a new character sprite on an existing template — takes about 15 to 30 minutes. A full pack with several custom items and properties can take a few hours, mostly spent drawing the art.
Yes, as long as the art is your own. If you started from someone else's template or used their sprites, credit the original creator and check they allow re-uploads. Never re-upload another person's mod as your own.